A surefire strategic guide and walkthrough for Manor Lords that will at last teach you the ropes and make the game fun to play.
Adding city-building to already challenging strategy games makes them absolutely impossible to master. In the same vein Manor Lords being a city-builder RTS can be very taxing, especially for those who are new to this genre. Initially, it might seem that the game is nice and cozy and you can build your town at your own steady pace, but it’s actually not. You have to build the right buildings at the right time to keep the momentum going and not let your citizens leave your town or Baren take over your land. So, here’s a step-by-step guide that can help you get a solid start on Manor Lords and eventually lead you to a satisfying ending.
1. Don’t Wait Too Long in Planning
Usually, in most city-building games, we take our sweet time to plan the city’s overall layout and where we want to place the major buildings. Well, of course, you’d do the same here, but make sure you do that while the game is paused.
Manor Lords generates a random map even though it’s the same area, but the resources are always scattered and have their limits too. Even though gathering food resources is vital at the beginning, you need to see which of your land’s resources has the highest reserve. Most of the time it’s either clay or iron, but based on what your land provides, you need to draw a line between your food resource (Wild Animals) and that resource to plan the city around them. You might wonder why you need to plan on getting stone, clay, or iron deposits at the very beginning; I’ll get to that point soon.
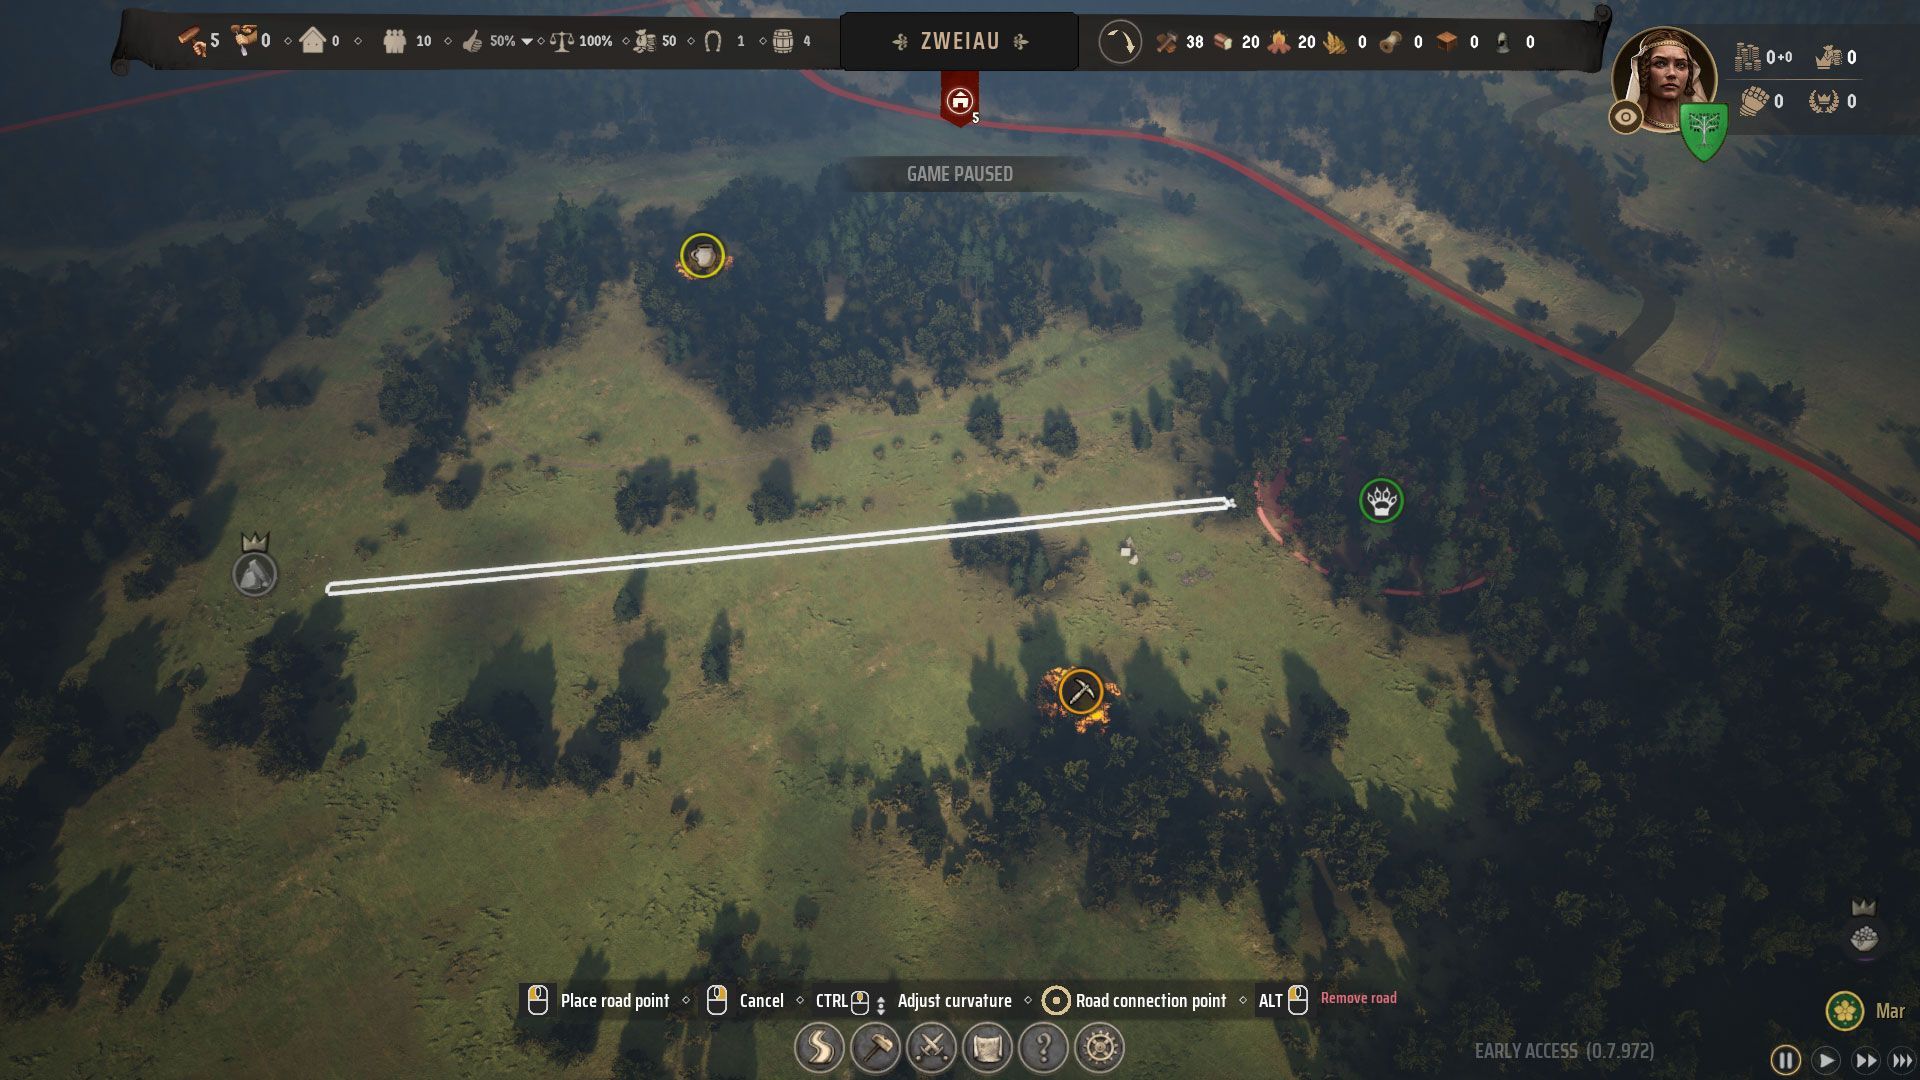
Now, even if the starting camp is far from the area you’ve selected, don’t worry about that. When you have the line drawn, follow the following steps immediately:
- Build a Logging Camp at the other end of the Wild Animals zone. If you place the Logging Camp too close to the hunting zone, they’ll cut down all the trees and the Wild Animal resources will be lost. You can manually select the area where the assigned families from Logging Camp will cut down trees but still don’t put them close to the hunting zone.
- Build a Woodcutter’s Louge next to the Logging Camp.
- Build a Hunter’s Camp close to the Hunting Zone.
- Build a Storehouse in the middle of the line, a little bit closer to the Woodcutter’s Louge.
- Build a Granary next to the Storehouse.
- Build a Hitching Post next to the Logging Camp and upgrade it to a Small Stable.
Now wait until your workers finish building. You can prioritize the construction as per the mentioned building names above. As soon they finish constructing a building, assign one family to work there immediately. Except for the Hitching Post, where you don’t need to assign anyone right now, but don’t forget to upgrade it to a Small Stable. You also start the game with a Hitching Post. Once all the buildings are constructed, move that closer to the area where you’ll plan the Burgage Plot (houses).
By the time all the buildings are constructed, if you had assigned a family to work at the Logging Camp at the beginning, there should be around 8-10 Timbers in your inventory.
2. Start Building Burgage Plot
Now unassign the family from Granary, and build 3 Burgage Plots that have the extension icons on them. This is very important. The moment you have enough Burgage Plot ready, the Homeless People’s Tent will vanish. But in the Burgage Plot, you can only assign 3 families. So immediately click “Expand Living Space” as soon as the Burgage Plot is ready.
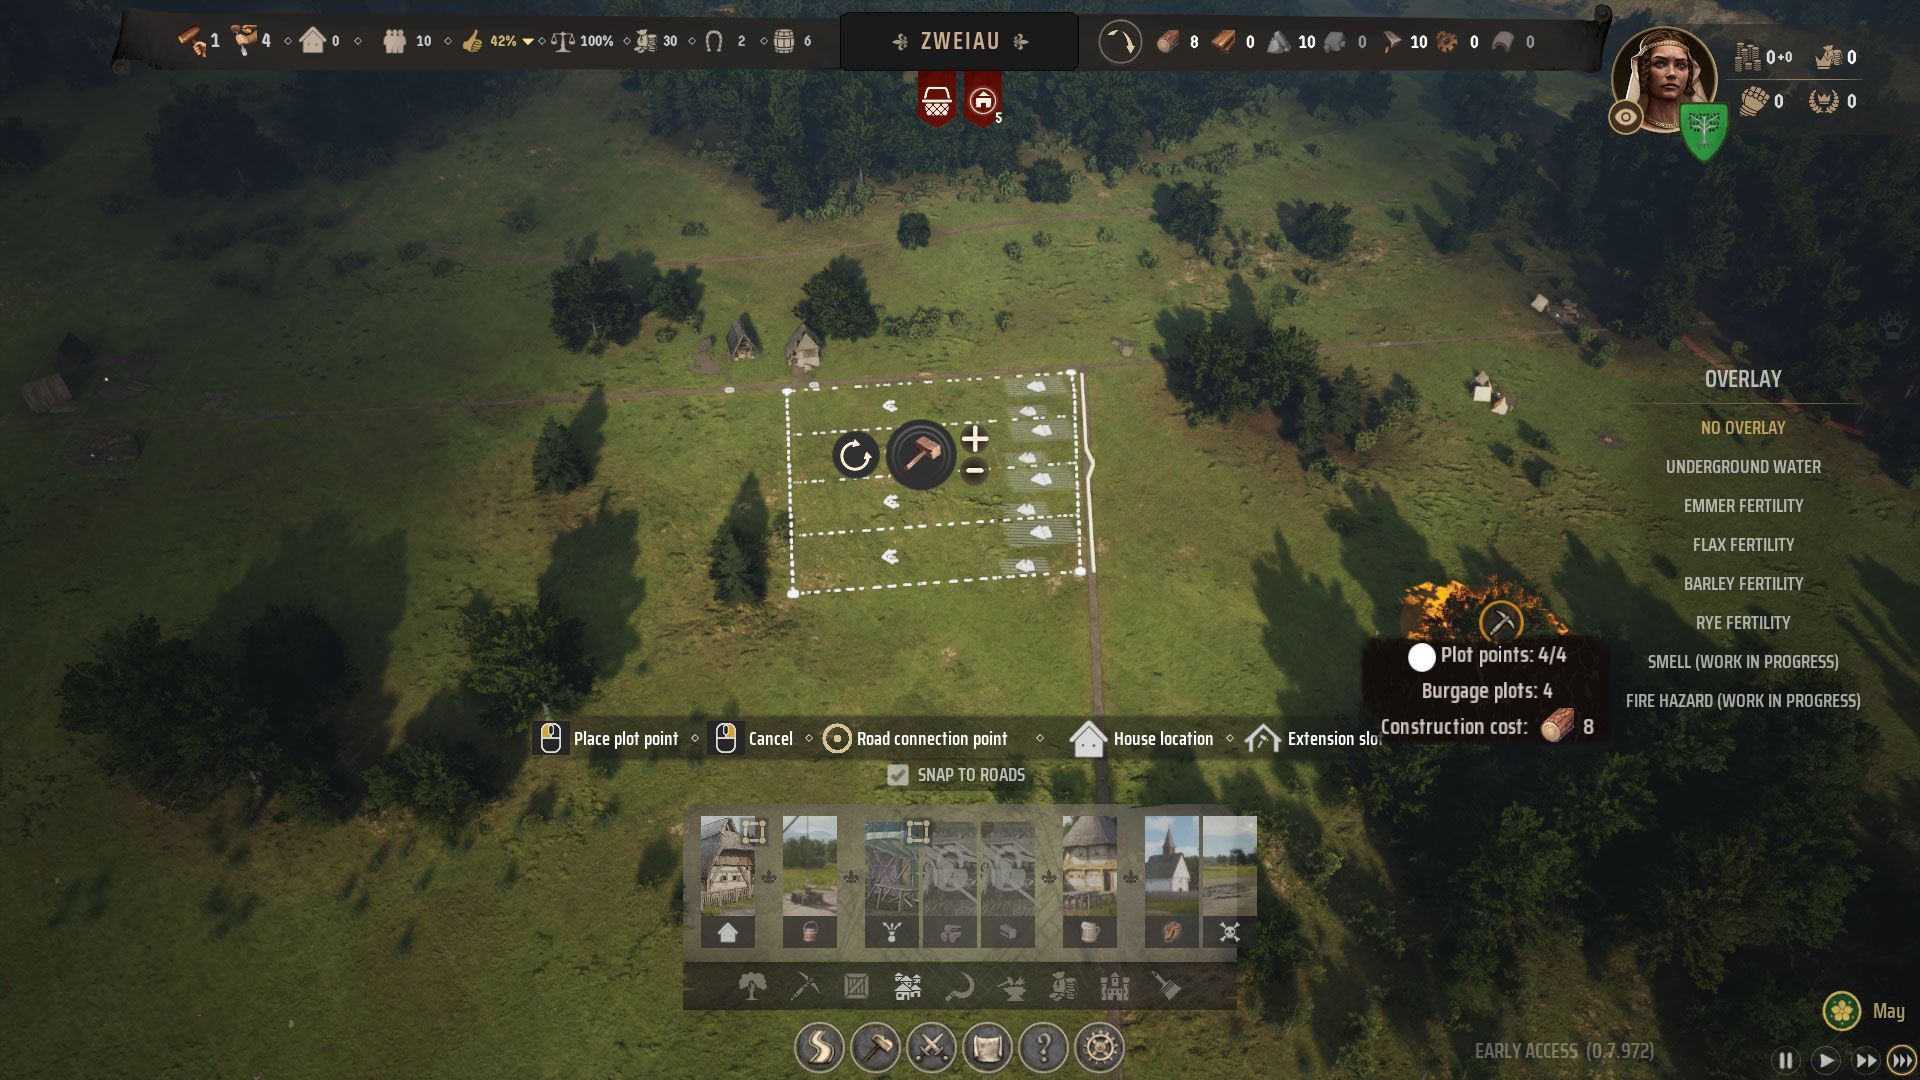
You can also unassign the family from the Storehouse to speed up the construction. But before doing that, make sure that your Hunter’s Camp doesn’t hold more than 2-4 Hides. Because when it reaches its max capacity, they’ll stop skinning the hides and you’ll lose a valuable resource which will come in handy very soon.
As soon as the 3 Burgage Plots are ready, do the following:
- Build 2 more Burgage Plots next to the ones you’ve made and expand their living spaces.
- Build a Well.
- Build a Sawpit to produce Timber. Place it close to the Logging Camp.
Manor Lords has approval points and your Approval points will still remain below 50% at these points, which means you won’t be getting new families to work on the new buildings. So, you’ll have to juggle them based on the need. I recommend juggling them from Granary and Storehouse based on the situation. You can also use families from the Woodcutter’s Louge if you’ve managed to gather store around 60 Firewood. Anything above 50 should be fine until more families join your city.
3. Start Trading
One of the most common mistakes that you can make is to start trading late. But you won’t anymore. Since you start Manor Lords with 30 Gold (Regional Wealth) only, you need to start generating more money as soon as possible to speed up your city’s development. So do the following as soon as you have the 5 families moved into their respective Burgage Plots.
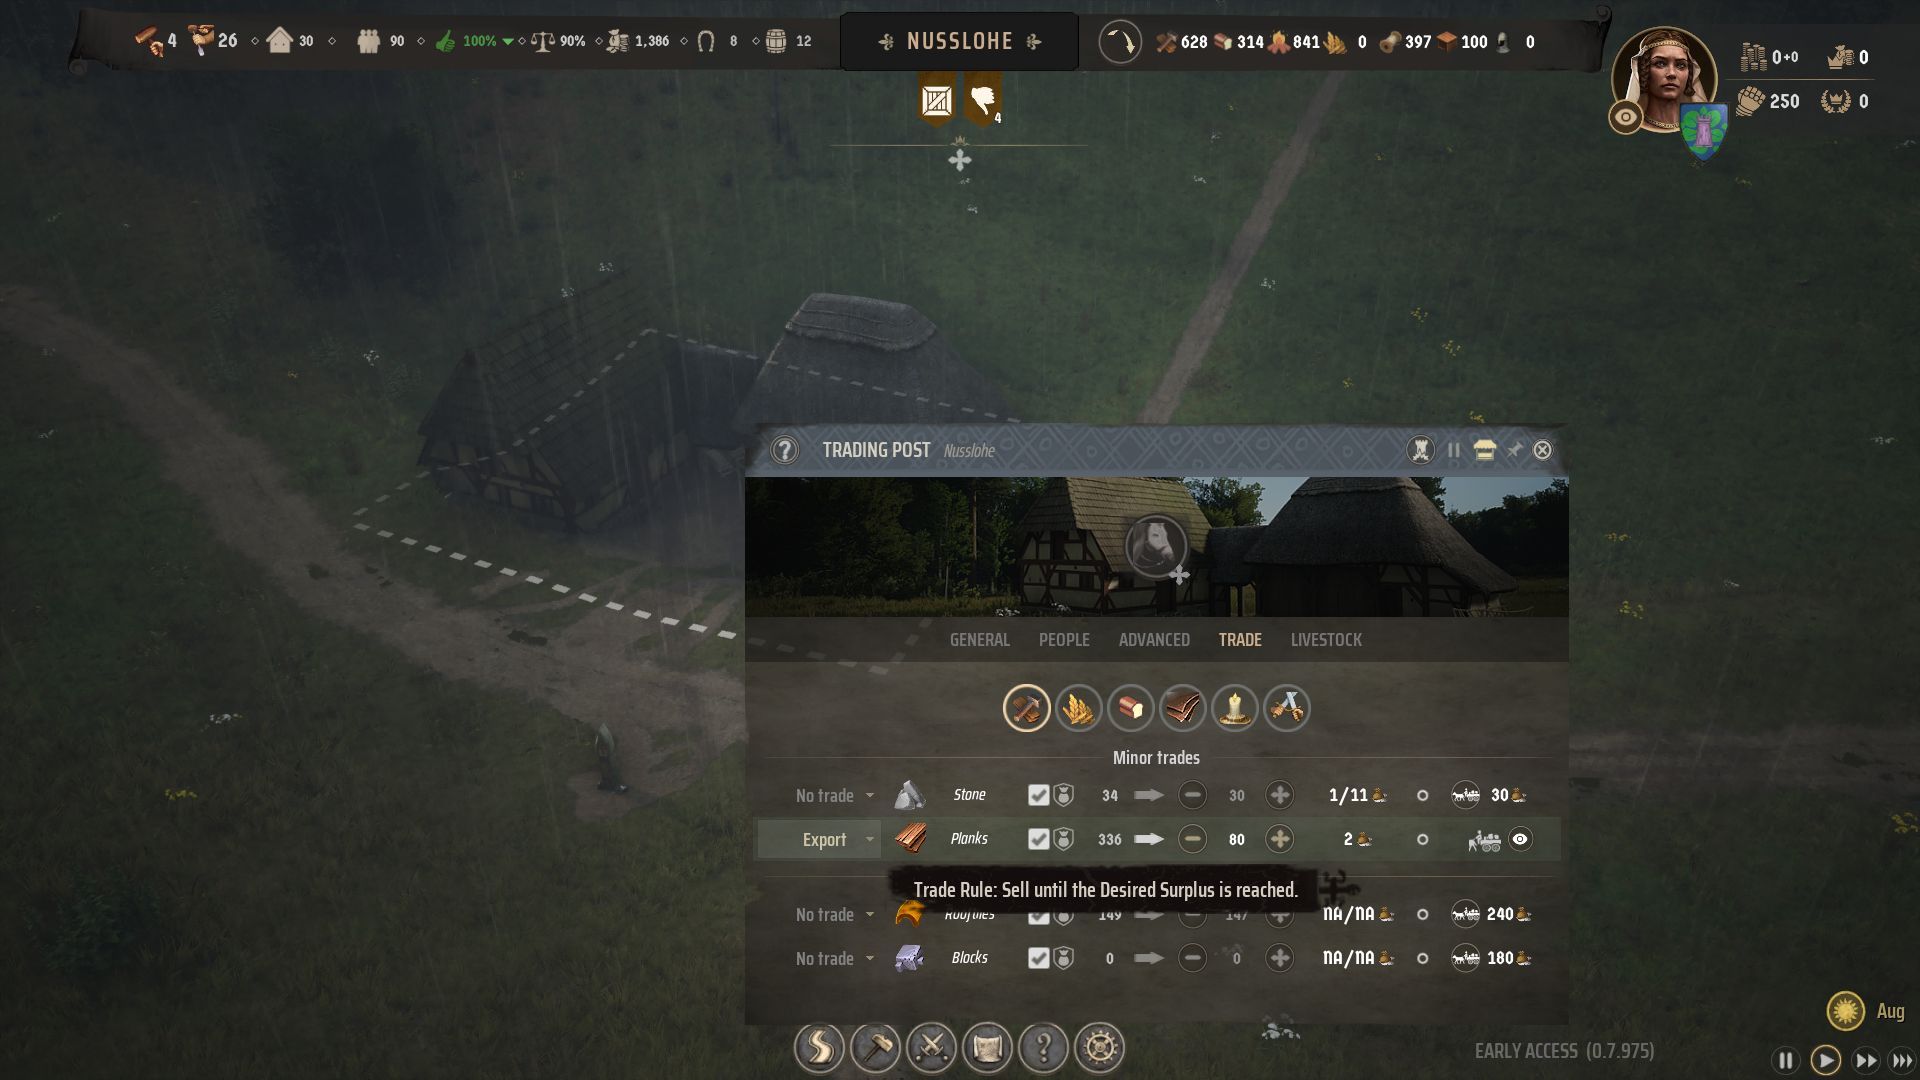
- Place a Trading Post on the King’s Road (the road that shows up when you zoom out the map to a bird’s eye view of the road you can’t delete by pressing the Alt button) close to the Storehouse and connect the roads if the King’s road and your initial lines are not very close. Connect them with a road anyway since it doesn’t cost anything.
- Start selling Planks and set the Desire Surplus to 20.
- Start selling Firewood and set the Desire Surplus to 50.
- Don’t forget the click on Export from the leftmost dropdown icon and Establish A Trade Route from the rightmost cart icon. Establishing a trade route will cost money, which you already have.
- Assign the Family from the Storehouse to the Trading Post until you’ve made around 100 Gold. You might have to juggle another family between Storehouse, Granary, and Woodcutter’s Louge to maintain their operation. You can also juggle a family between Logging Camp and Woodcutter’s Louge depending on the supplies.
Gold from the trading post will pretty much start to come immediately, and this is when you make the major and the important moves.
4. Expand Your City
Most of the guides that I’ve seen don’t recommend upgrades, trading, or town expansion early in Manor Lords and that’s when you start to struggle because your Approval rating won’t be high enough for more families to join the town unless you upgrade your buildings, especially Burgage Plots. So do the following steps immediately when you see the Gold starts to come from the Trading Post.
- Oder Another Ox from your upgraded Small Stable. This will cost 20 Gold.
- Build a Well close to the Burgage Plots. One is enough for up to 20 families. So, don’t build multiples.
- Build a Wooden Church close to the Burgage Plots (I recommend placing it on the road that will connect the roads to multiple Burgage Plots areas.)
- Unassign families from the Trading Post if there are Planks or Firewood in the store of the Trading Post. If not, unassign the family from the Logging Camp or Hunter’s Camp to carry out the Wooden Church construction. It’ll take some time to construct the church. So, you’ll have to juggle families from one building to another depending on the situation.
- Build a Tannery close to the Hunter’s Camp or the Storehouse.
By the time these steps are complete, you need to play according to the mode you’re playing Manor Lords. I strongly recommend playing Manor Lords in Rise to Prosperity mode until you know its mechanism. If you’re playing in this mode, then do the following:
- Click your Town’s name at the top and a new tab will open. From the Development tree, upgrade it to Trapping. If the Wild Animals resource is 10, then select Forest Management instead.
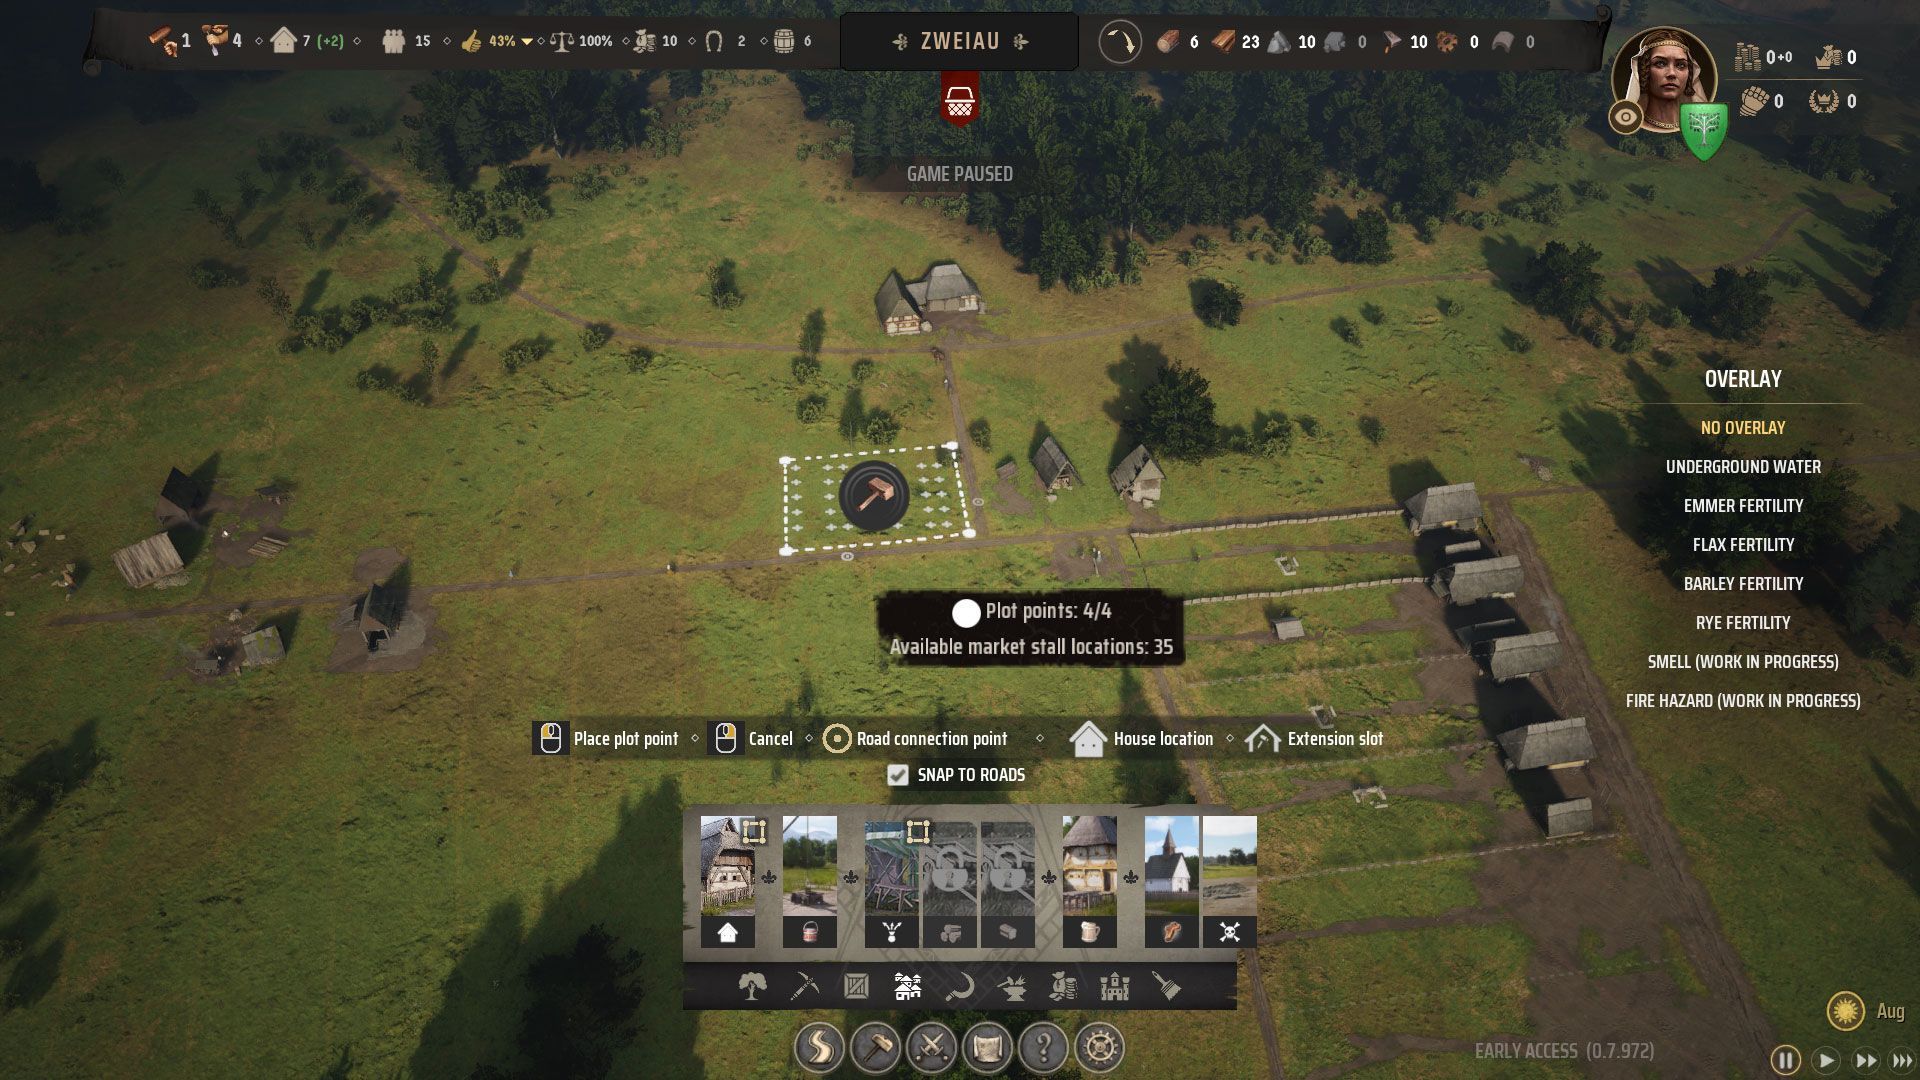
- Build a Marketplace area right next to your Granary and Storehouse. Anything around a 32-40 market stall size area should be just fine.
- Now if you click the marketplace area, it’ll show you the houses that have access to food and fuel. Click the first house and you’ll see two icons saying Upgrade to Level 2 and Construct A Backyard Extension. From the Backyard Extension dropdown, click Chicken Coop. Do this for all the buildings until you run out of money.
This is where you’ll have to be a bit patient once all the buildings have backyard extensions. But by the time they do, you’ll have a second food source in the Marketplace and have filled all the need to upgrade the houses to level 2. But before you upgrade them, do the following:
- Build another 5 Burgage Plots on the same road or opposite to the ones currently existing. But make them very large, at least double in length compared to the existing ones. Make sure you have the Extension icons on every plot too. This is up to you how you want your town to look. But no matter where you place them, make sure they are close to the Church or have quick access to it.
5. Focus on Industry/Army (if Playing on Restoring the Peace Mode)
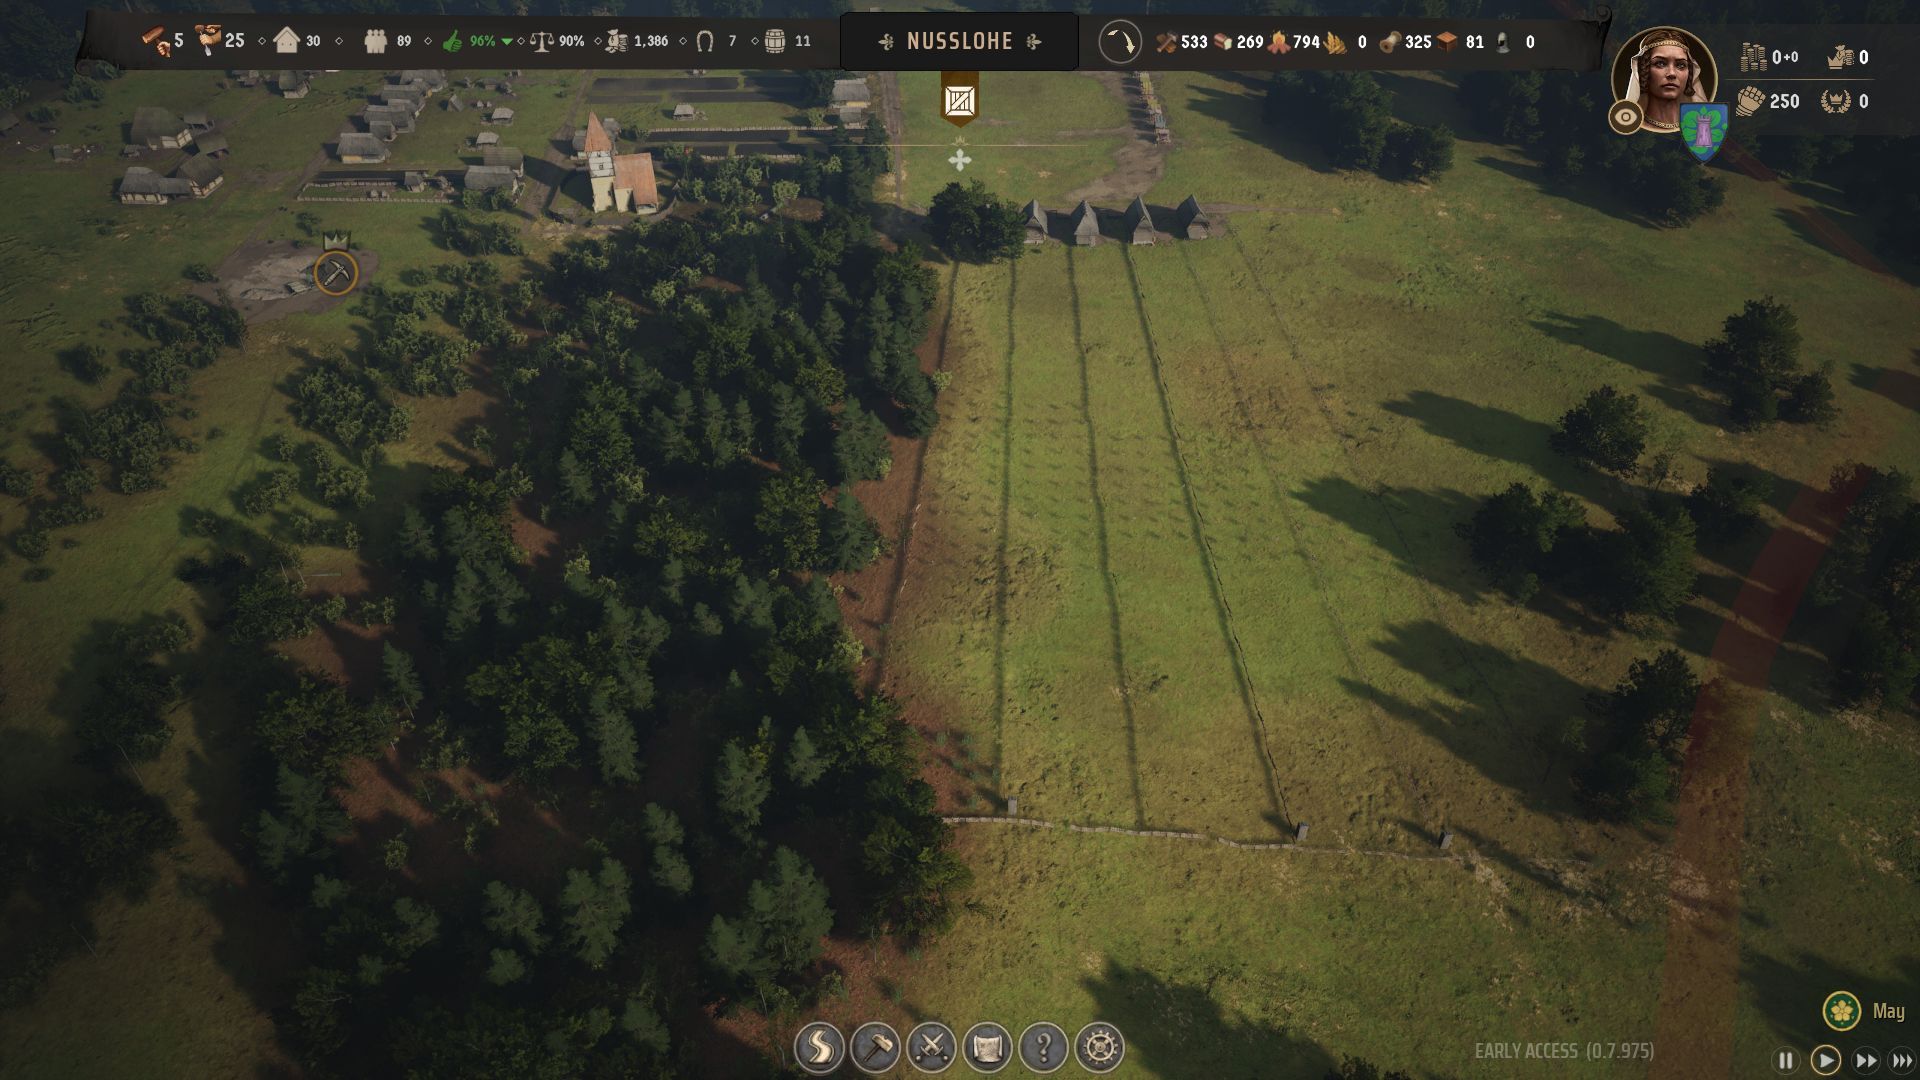
If you’ve survived your first winter, this is another crucial part of the game when you decide your town’s final direction. As I recommended earlier, if you’re playing Manor Lords in Rise to Prosperity mode, then you’ll be focusing on Industry from here onward and if on Restoring the Peace mode, then the focus will be on building a strong Army.
The good news is that you can still manage building industries and meet the win condition in Manor Lords even if you’re playing on Restoring the Peace. So, I’ll be explaining what to do from here onward.
- Stop exporting Firewood from the Trading Post.
- By this time, you should have a higher approval rating and there should be at least 4 new families joining your town while you already have the 5 new plots ready for them to move in. There will still be empty houses, but let them be.
- Now upgrade two Burgage Plots to Level 2 and this will give you a Development point. Use that point to unlock Charcoal Buring from the Development Tree.
- Build a Charcoal Kiln next to the Woodcutter’s Louge and assign a family to work there.
- Build a Vegetable Garden in the 5 large Burgage Plots. It’ll take a few months for vegetables to show up in the market but, eventually will ensure that you have 3 types of food in the market.
- Build a Stonecutter Camp close to the Stone Deposit.
- By the time you have 15 stone, build your Manor. It’ll cost 5 Timbers, 20 Planks, 15 Stones.
- As soon as the Manor construction starts, start exporting Stones until your reserve reaches 300. Don’t forget to stop exporting stones after that, otherwise, you’ll have to import stones for further town development.
- Now building a Manor is a big move but it’s necessary. It also takes a few months to build it. After the building is complete, collect a 10% tax from each building.
Once these are done, allow a few months to have some money in your treasury. This money can be used to hire mercenaries to fight the bandits if Playing on Restoring the Peace Mode.
6. Continue Expanding Industry and Housing
From here on, you continue expanding your town and start new industry buildings depending on the demand from the Burgage Plots for upgrading them to Level 3. So keep doing the following:
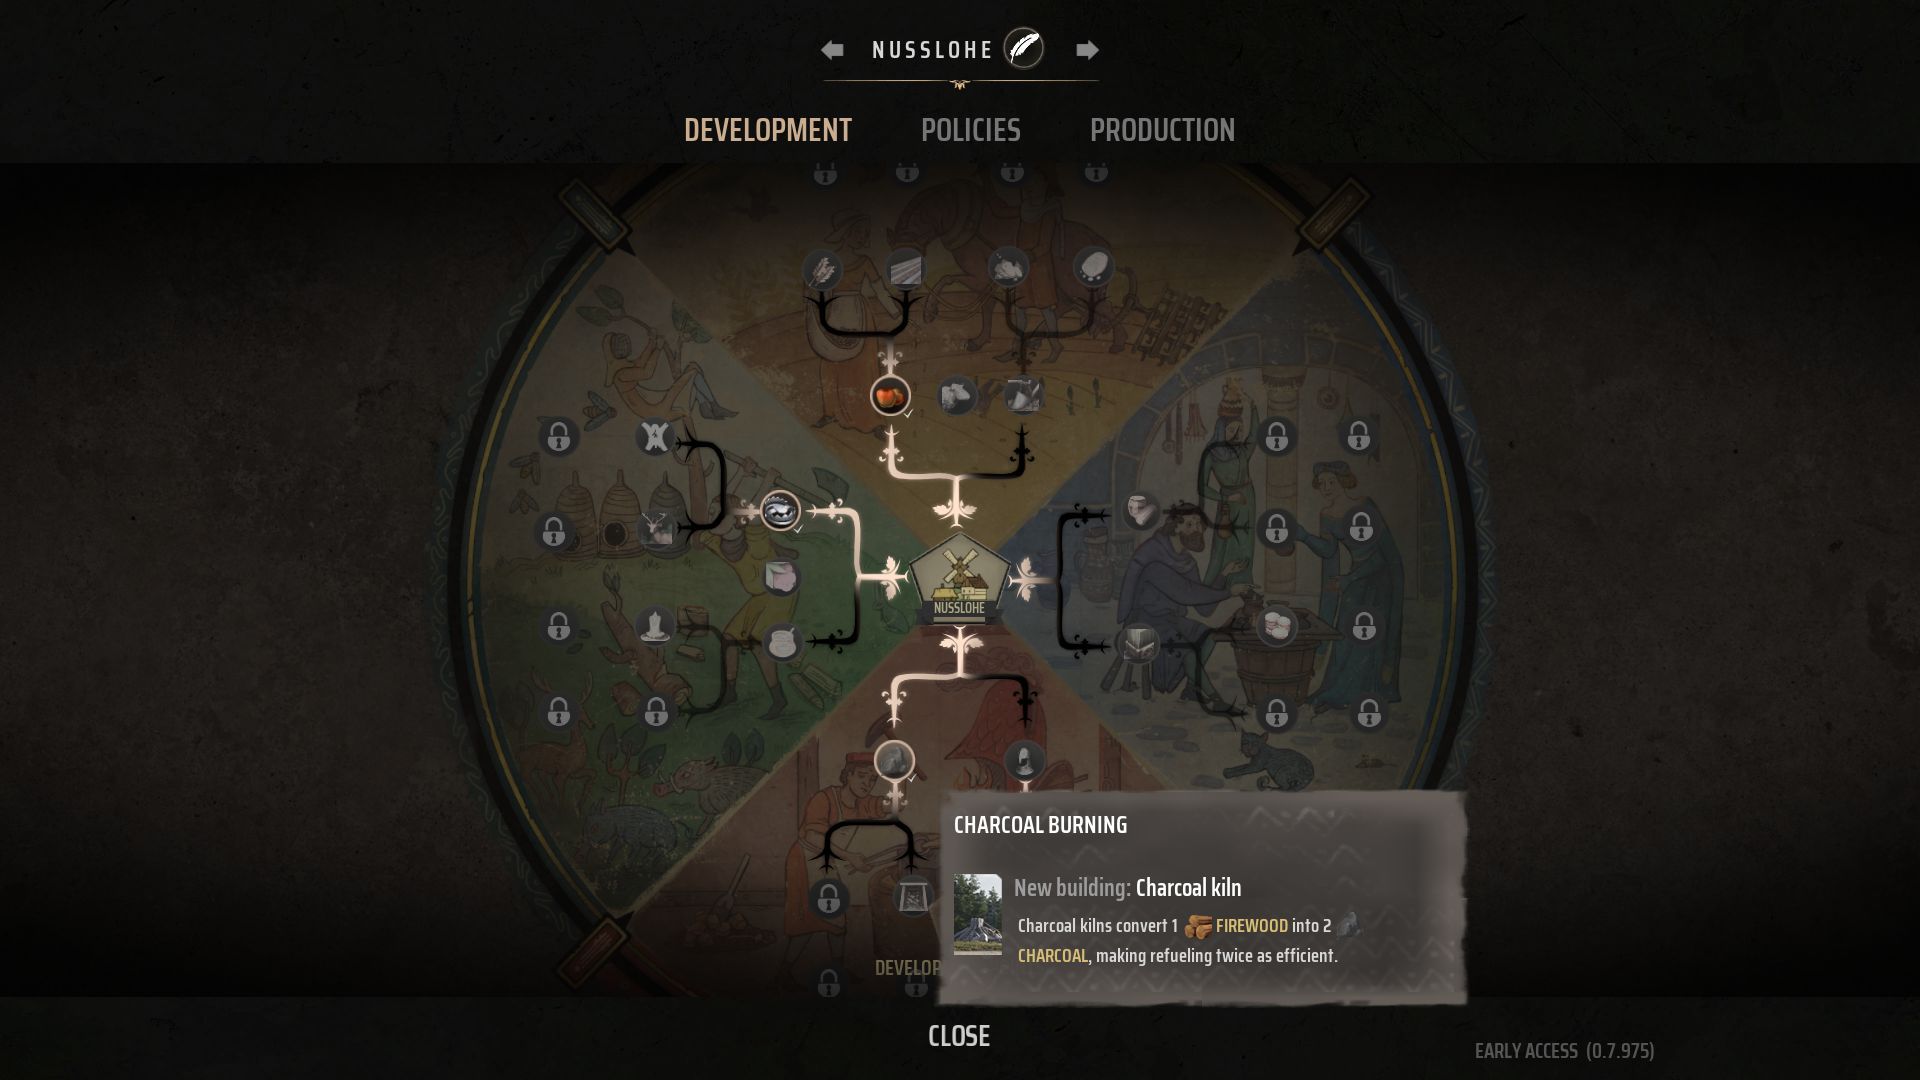
- The second winter will come and you’ll have to build more Charcoal Kiln to keep the reserve for 12 months at least.
- The moment you have another Development Point, use that for Forest Management if you haven’t done it earlier. And then Orchardry to build Apple Orchard in the Backyard Extensions. These also need large Burgage Plots, and the larger the better.
- Then once you unlock Basic Armormaking from the Development Tree, you can also upgrade 5 Burgage Plots to Level 2 and start producing weapons and armor. These can be used for your own troops or for export.
And if you’ve reached this point of Manor Lords, you won’t need to read any further tutorials or guides. You’ll do just fine by yourself. So good luck and thanks for reading. But if you still have more questions, feel free to ask in the comment section.


